
Custom pose
Want to save a custom pose to the library? Want it to appear in this list? This guide shows you how.
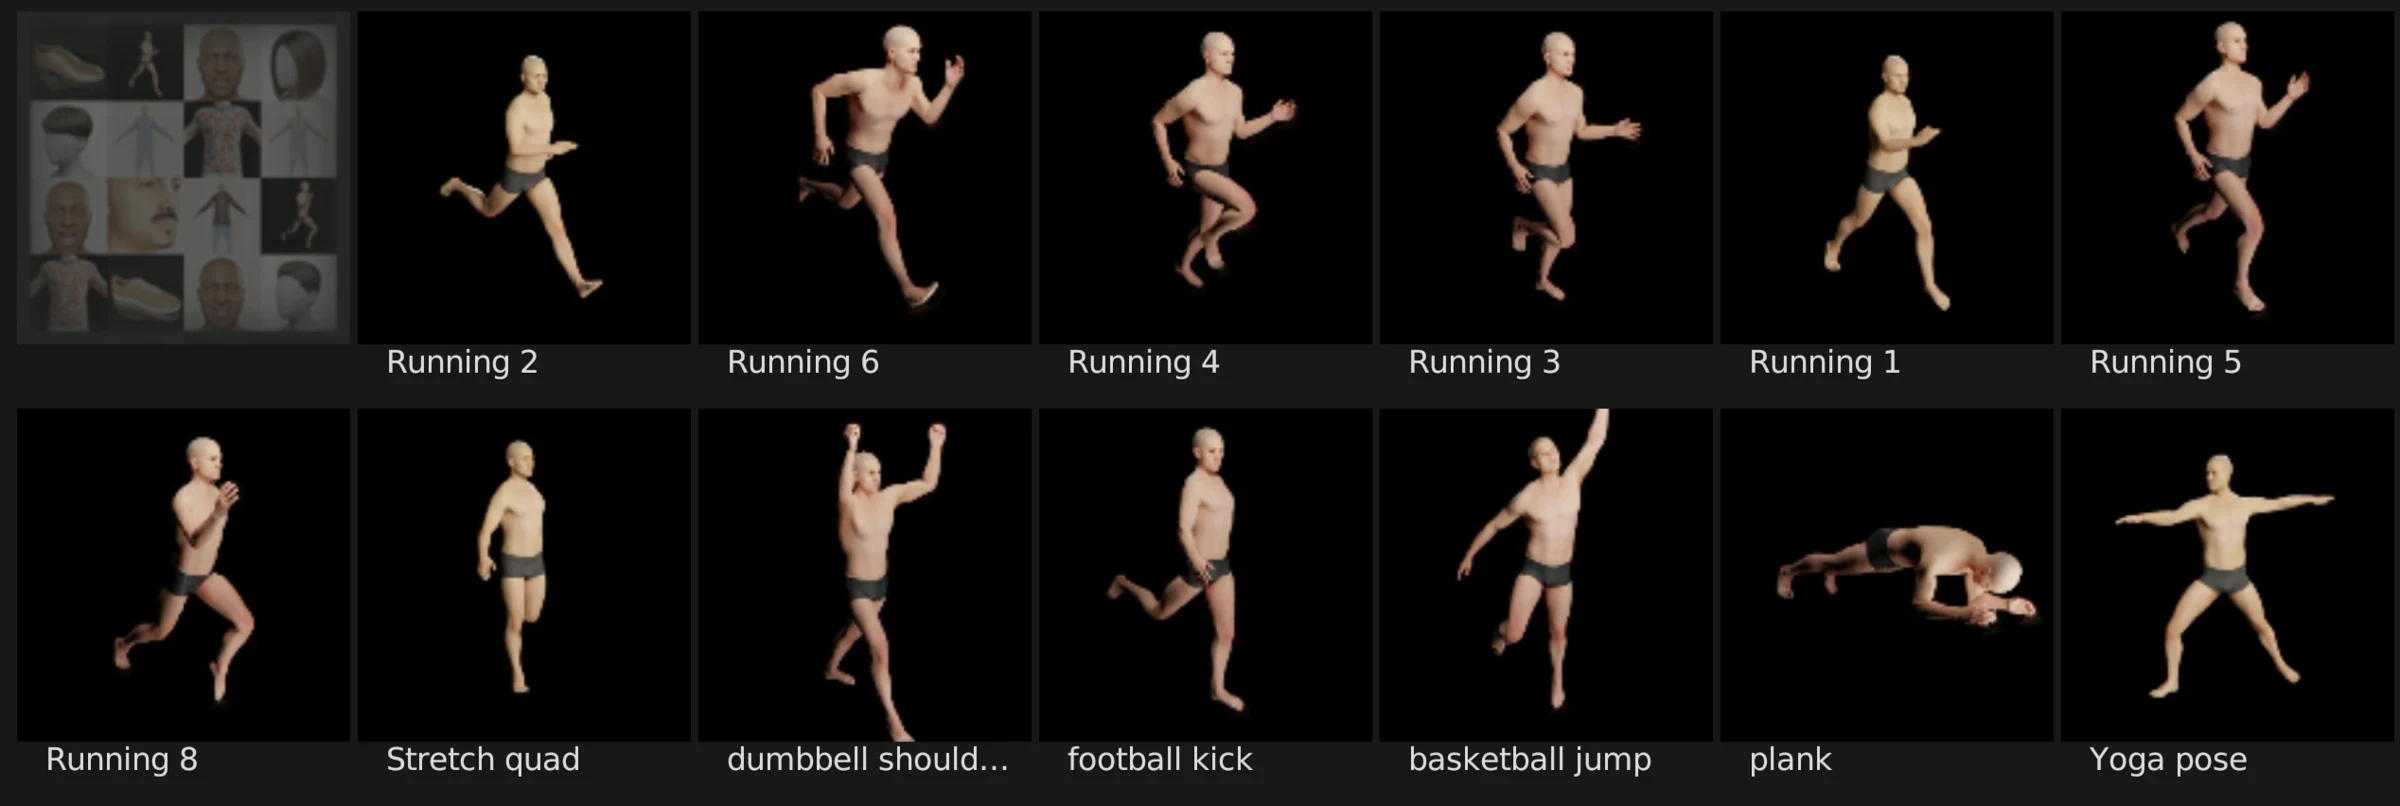
1) Pose an existing human
Either create a new human, or use an existing human created with Human Generator. It doesn't matter if the human has been sculpted, had it's height changed, is wearing clothing, etc. The system can save the pose universally, so it will work for all future humans.
If you've used the Processing System on this human, the pose saving system might no longer work. For example, if you've applied the armature modifier, the pose cannot be extracted.
Wondering how to pose your human? See Pose › Manual posing.
2) Go to the "Custom Content" tab
The switch is located at the top of the Human Generator interface. NOTE: Make sure the human who's pose you want to save is the active object.
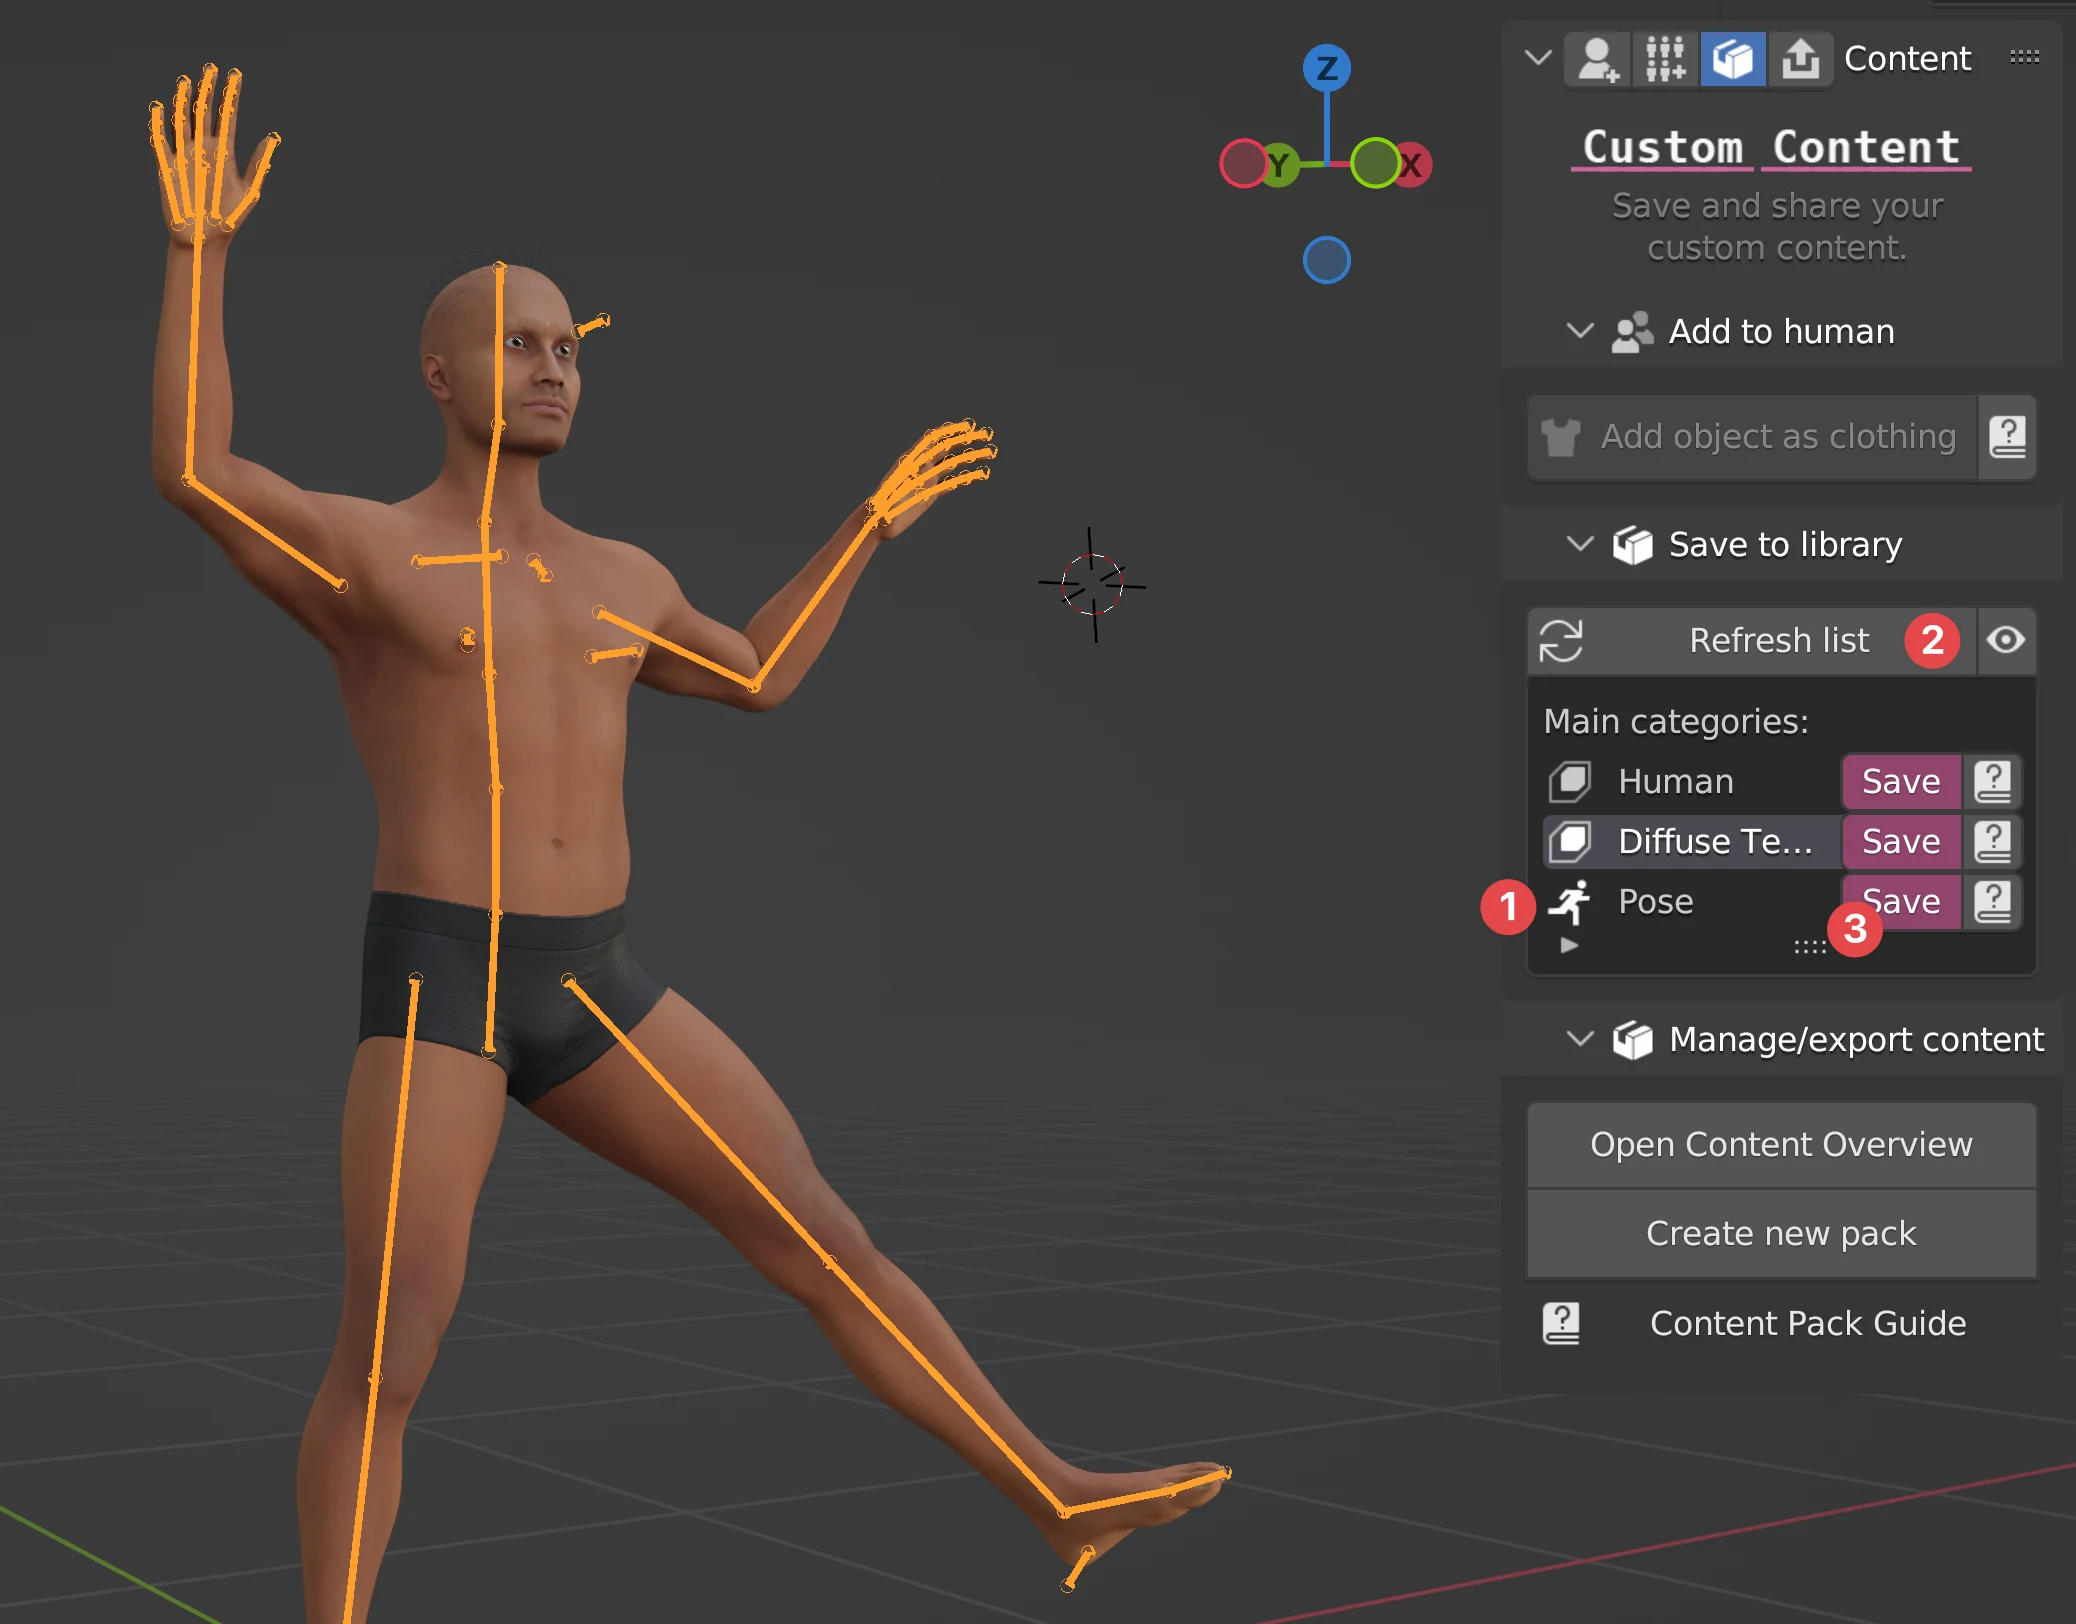
If HG detects the pose has been changed, you should see "Pose" (1) in the "Save to library" list. If it does not show, press "refresh list" (2). Now, press the "Save" button (3) for "Pose".
3) Thumbnail selection
It's best if your pose has a thumbnail. HG offers multiple ways to add a thumbnail to your item. For an explanation of all methods, see Custom thumbnails.
For now, we will use the quick and easy "Automatic render". Click the button (3) and the created thumbnail will be previewed. Then press next (4).
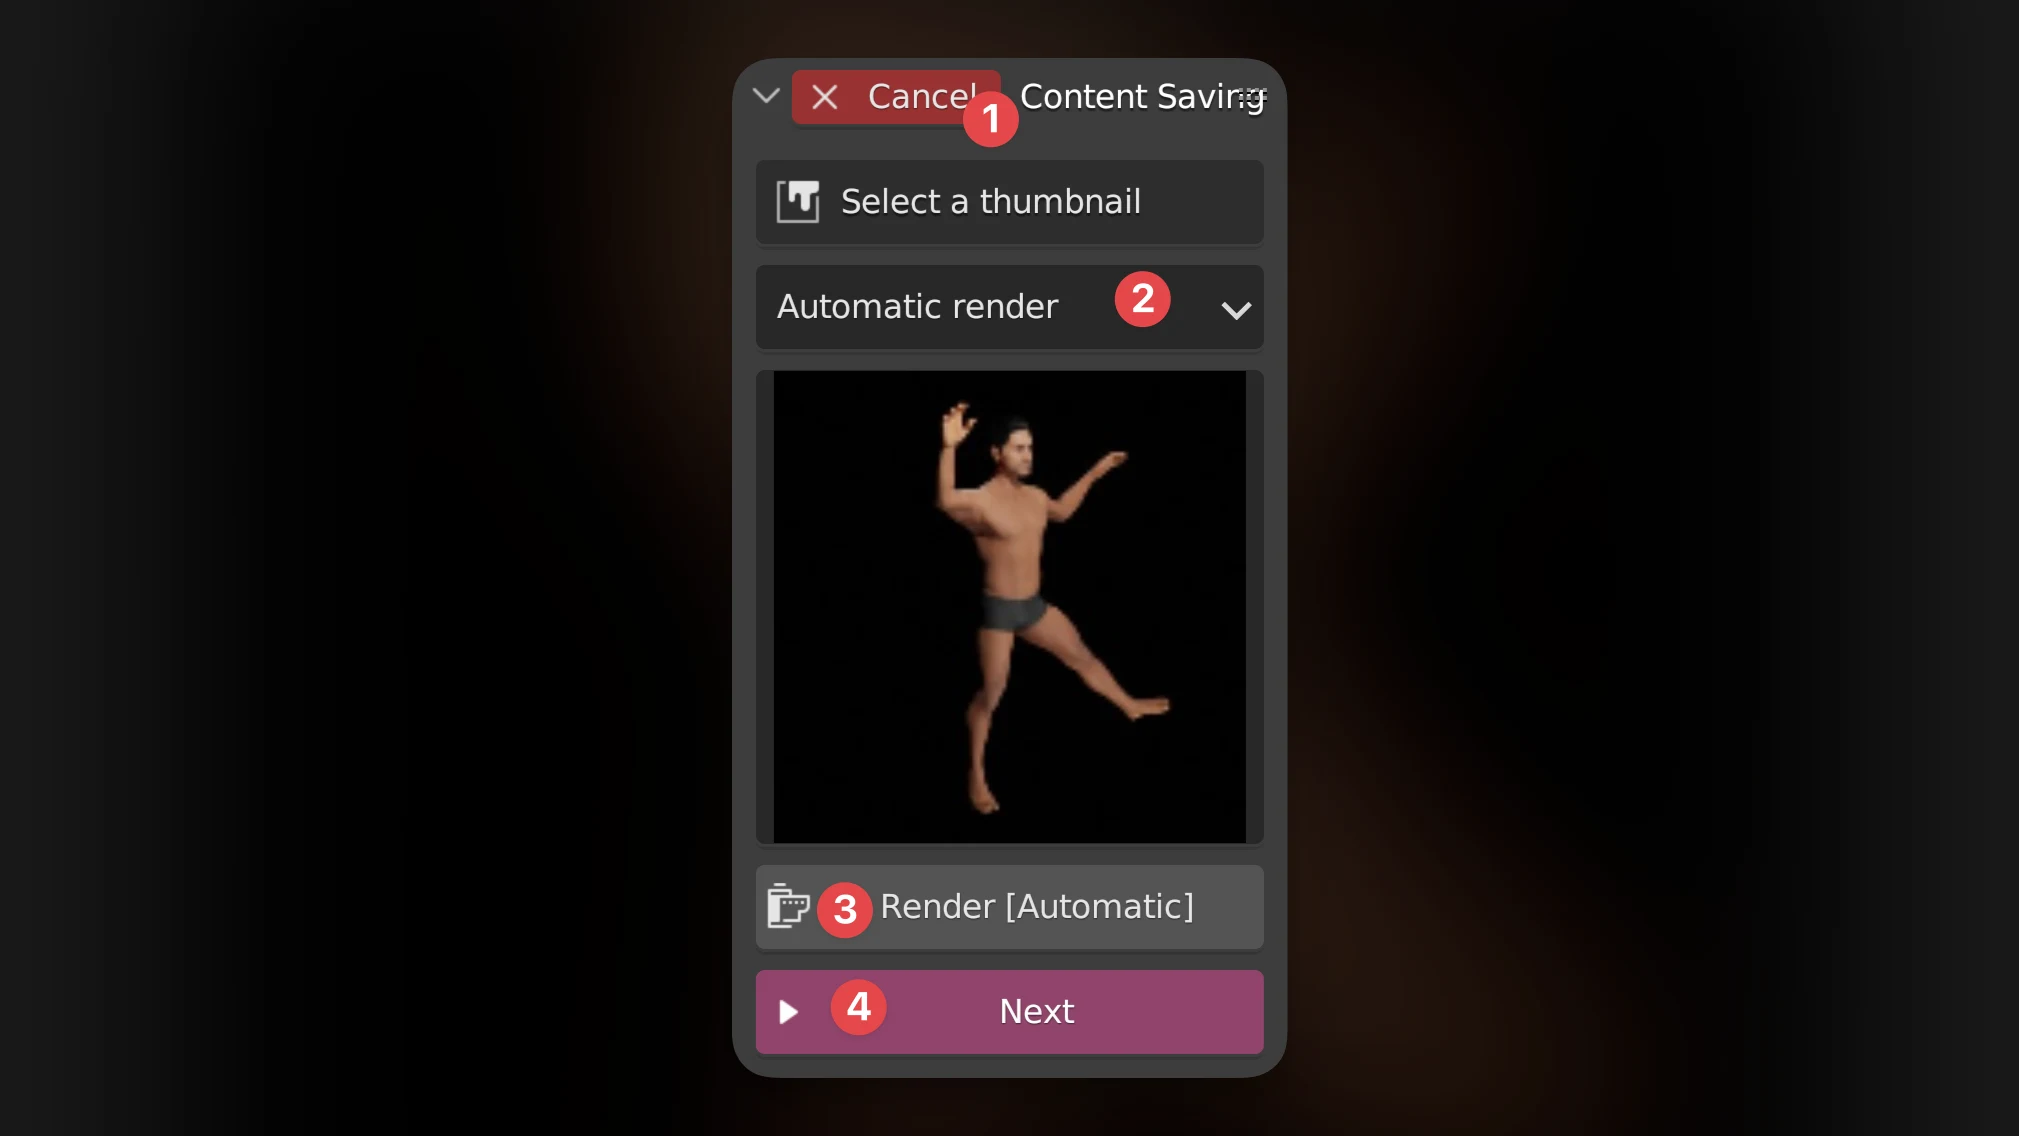
- Cancel: Want to cancel the saving process? Click here.
- Thumbnail type selector: Here you choose what way you want to add a thumbnail. See Custom thumbnails.
- Automatic render button: Click here and HG will make a quick thumbnail render.
- Next: Move to the next screen of the saving process.
4) Category selection
Poses are sorted into categories. Here you'll choose a category to save your pose in.
You can choose an existing category in the "Existing" tab (1) by selecting a category from the dropdown (3). Want a category with a custom name? Go to the "Create new" tab (2) and fill in your own name.
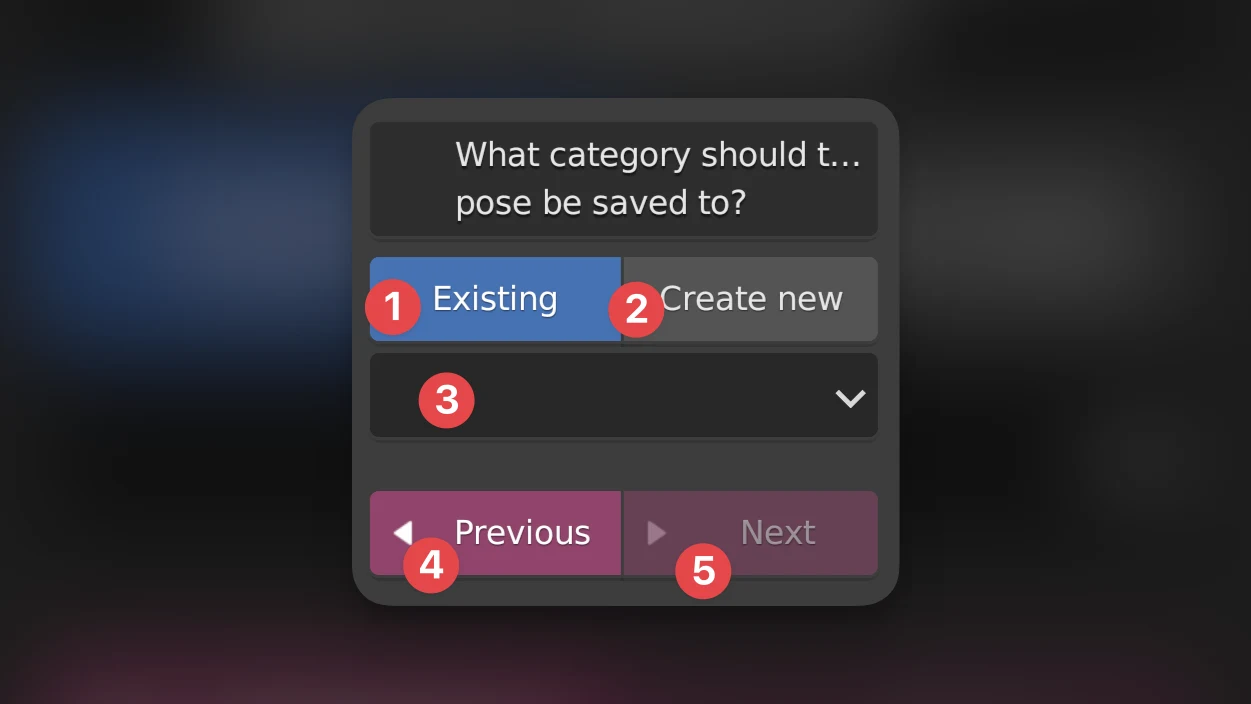 Want to go back to the previous screen? Use the "Previous" button (4). The "Next" button (5) will become available once you've chosen a category.
5) Give your pose a name
This is the name that will show up in the pose selector, and also the name of file that will be saved. Choose a descriptive name, and press "Save".
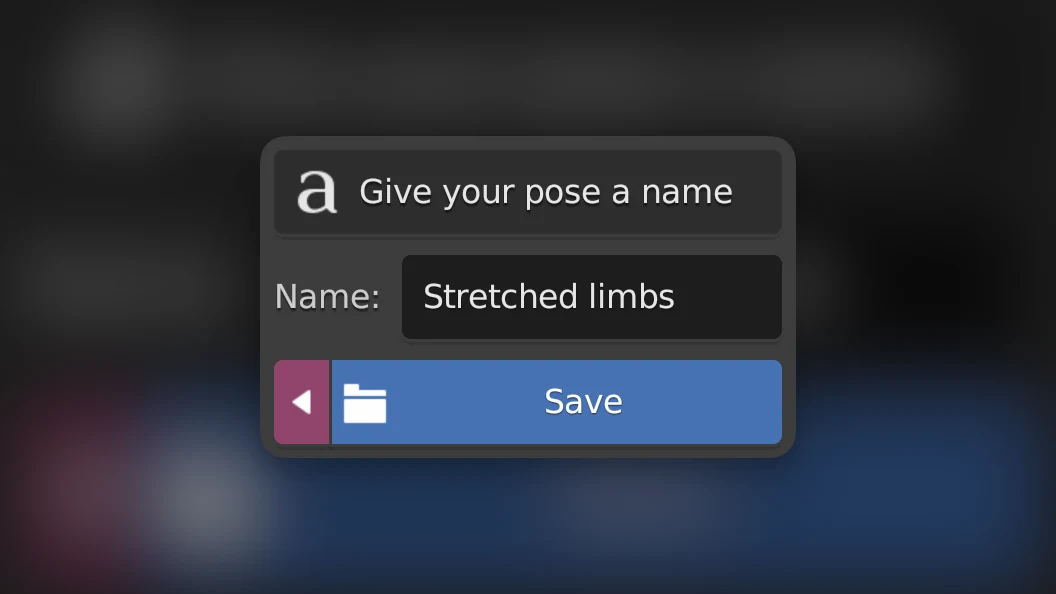
Want to overwrite an existing pose you made? Give it the exact same name.
6) The pose has been saved to the library!
You can now find it in the pose selection. Want to share the pose with other people? See Exporting your content as a pack.
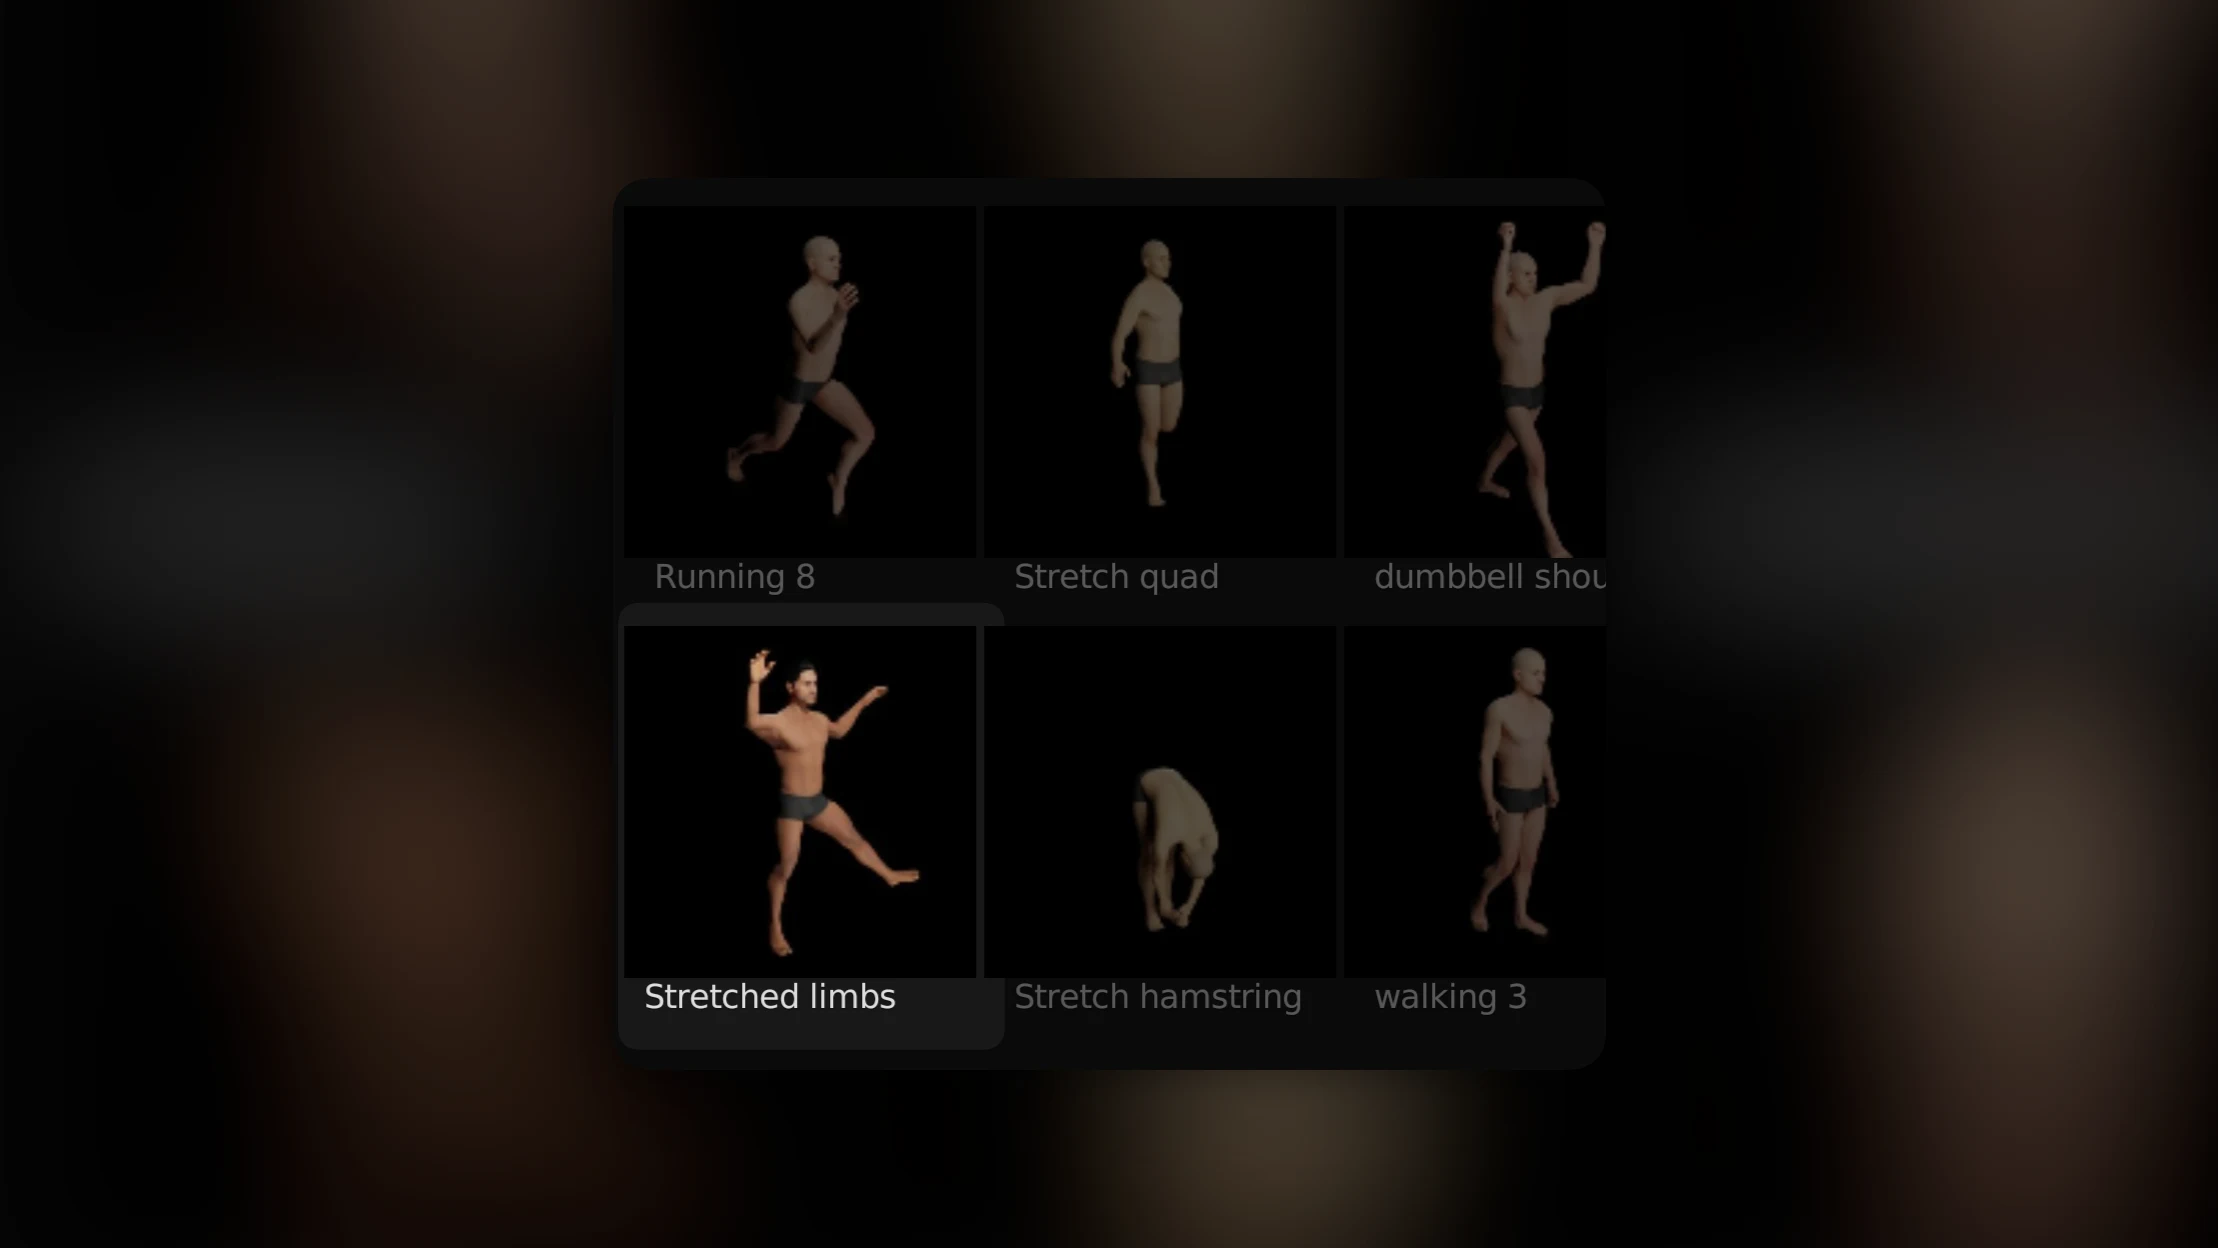
Poses are saved as .blend files containing the rig and an accompanying .jpg thumbnail with the exact same filename. Both are saved to {hg folder}/poses/{category}/.