
Custom texture sets
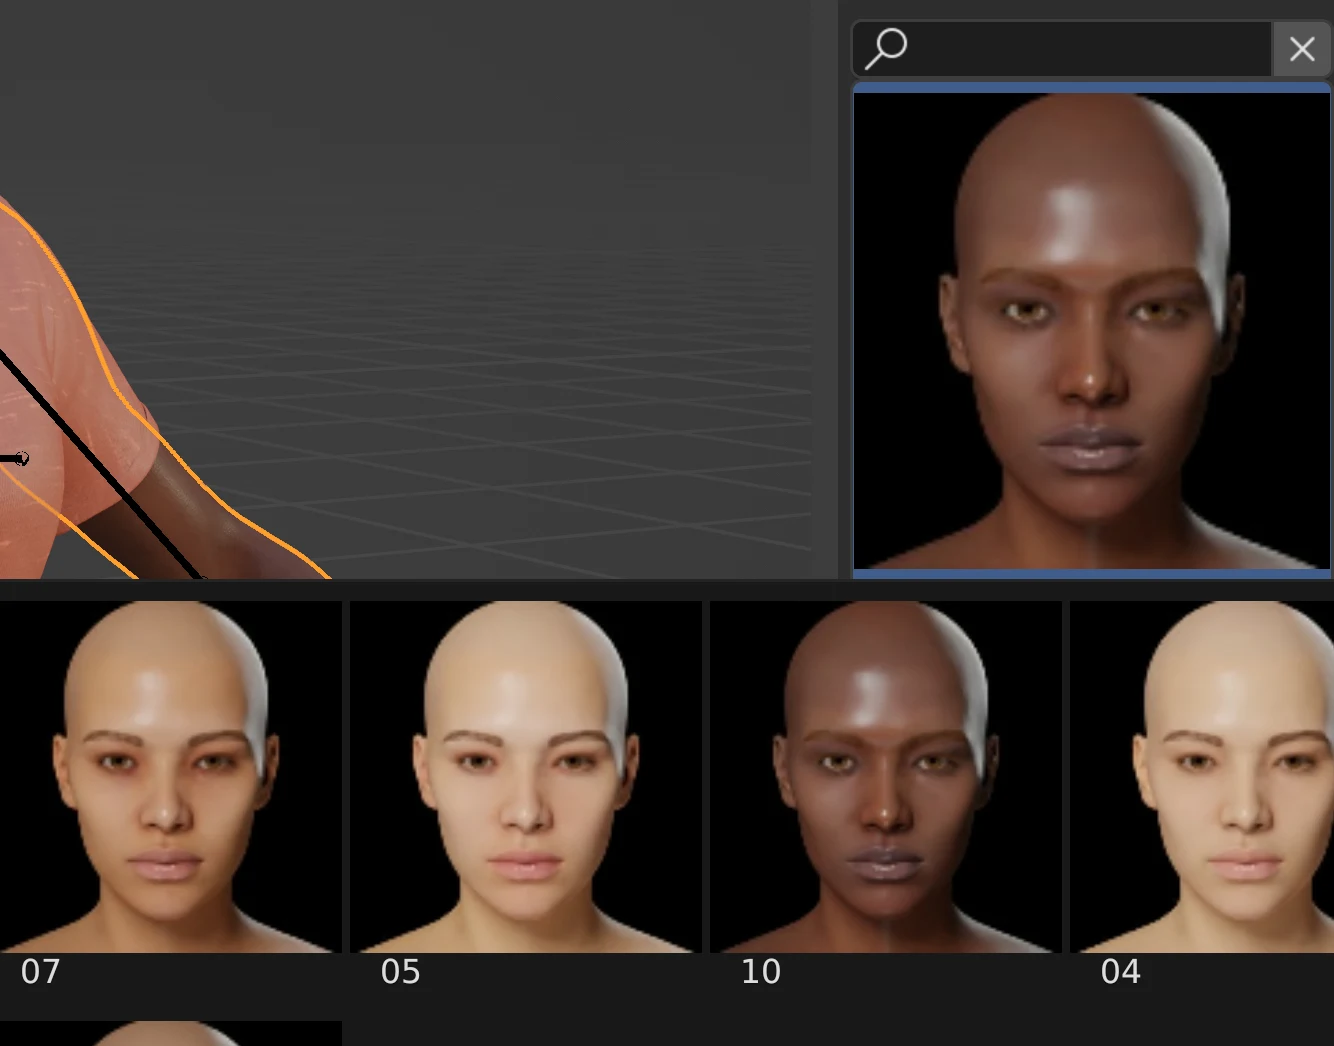
Did you edit one of the textures or want to make some edits and save them? Did you create a new texture from scratch? This guide shows you how to add them to this menu:
1) Selecting/making the textures
If you already have texture files
For example by opening the files directly in Photoshop and saving them to your own files.
- Go to the
.Humanmaterial of the body object in the material node editor. - Find the Diffuse Texture node in the bottom left corner of the node setup
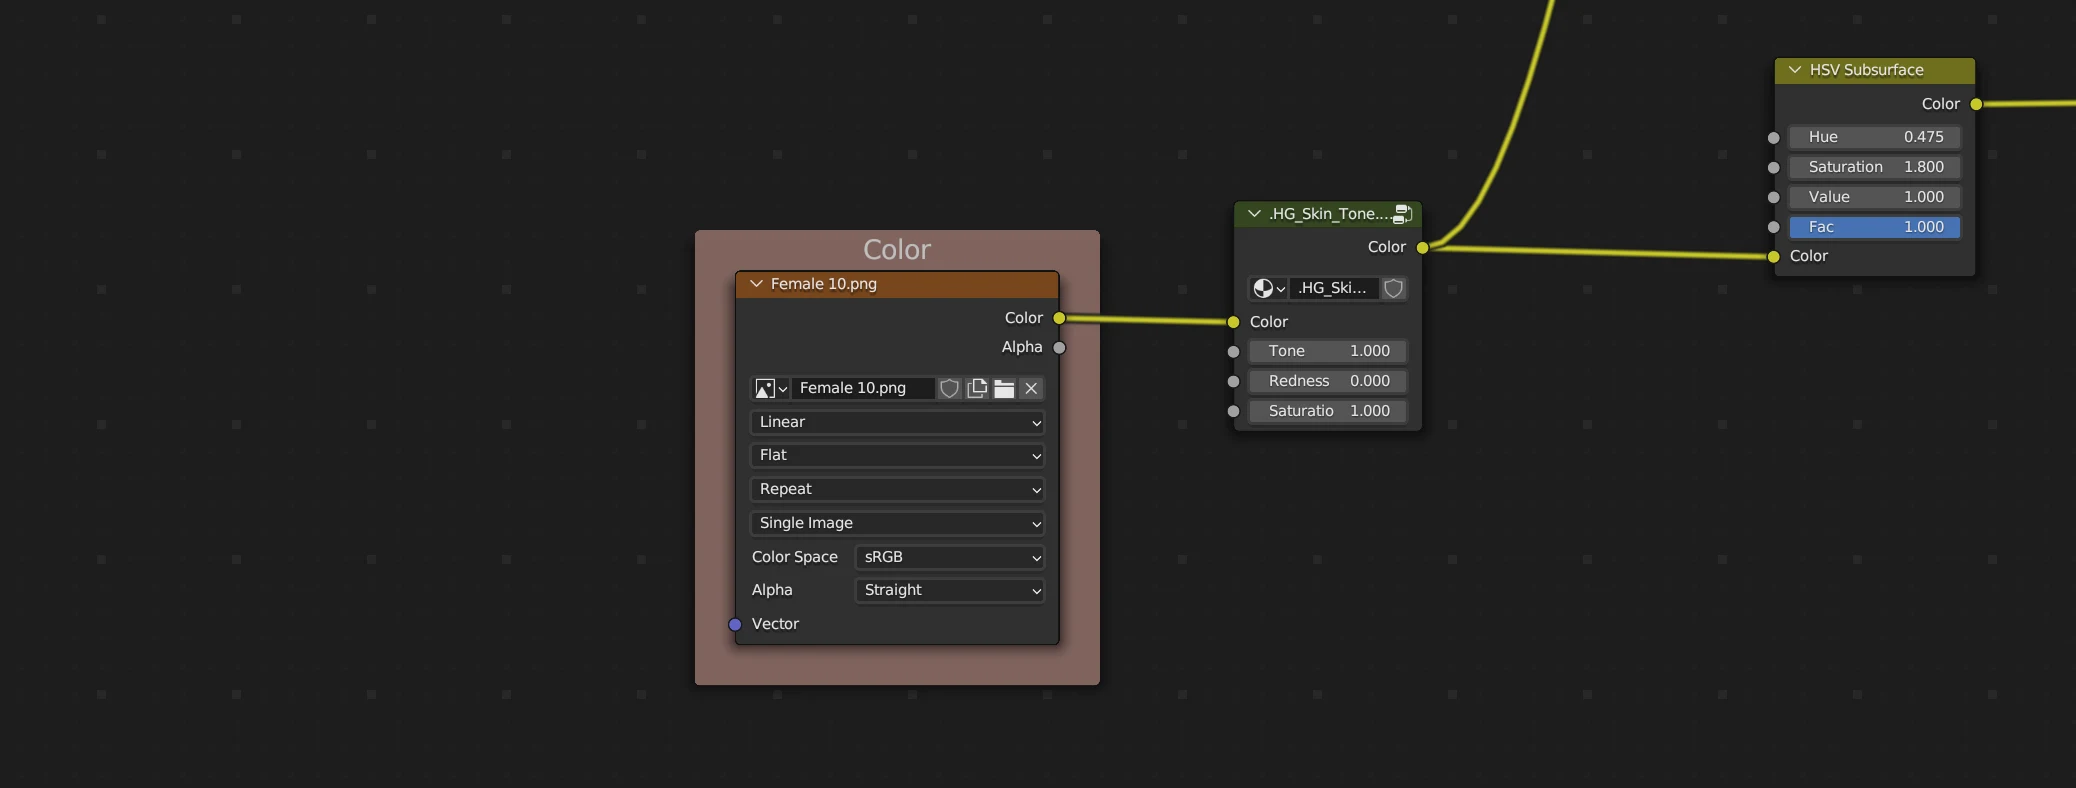
- Replace the currently loaded texture with your custom diffuse texture
If you want to change the existing texture without overwriting them
- Make your edits in Blender, for example texture painting (See GIF below).
- Save the edited texture with a new name (See GIF below). DO NOT save it with the same name, this might also change other humans you've created with HG as you are overwriting the texture.
- Make sure your edited image is the one in the Diffuse Texture node in the bottom left corner of the body material (see GIF above)
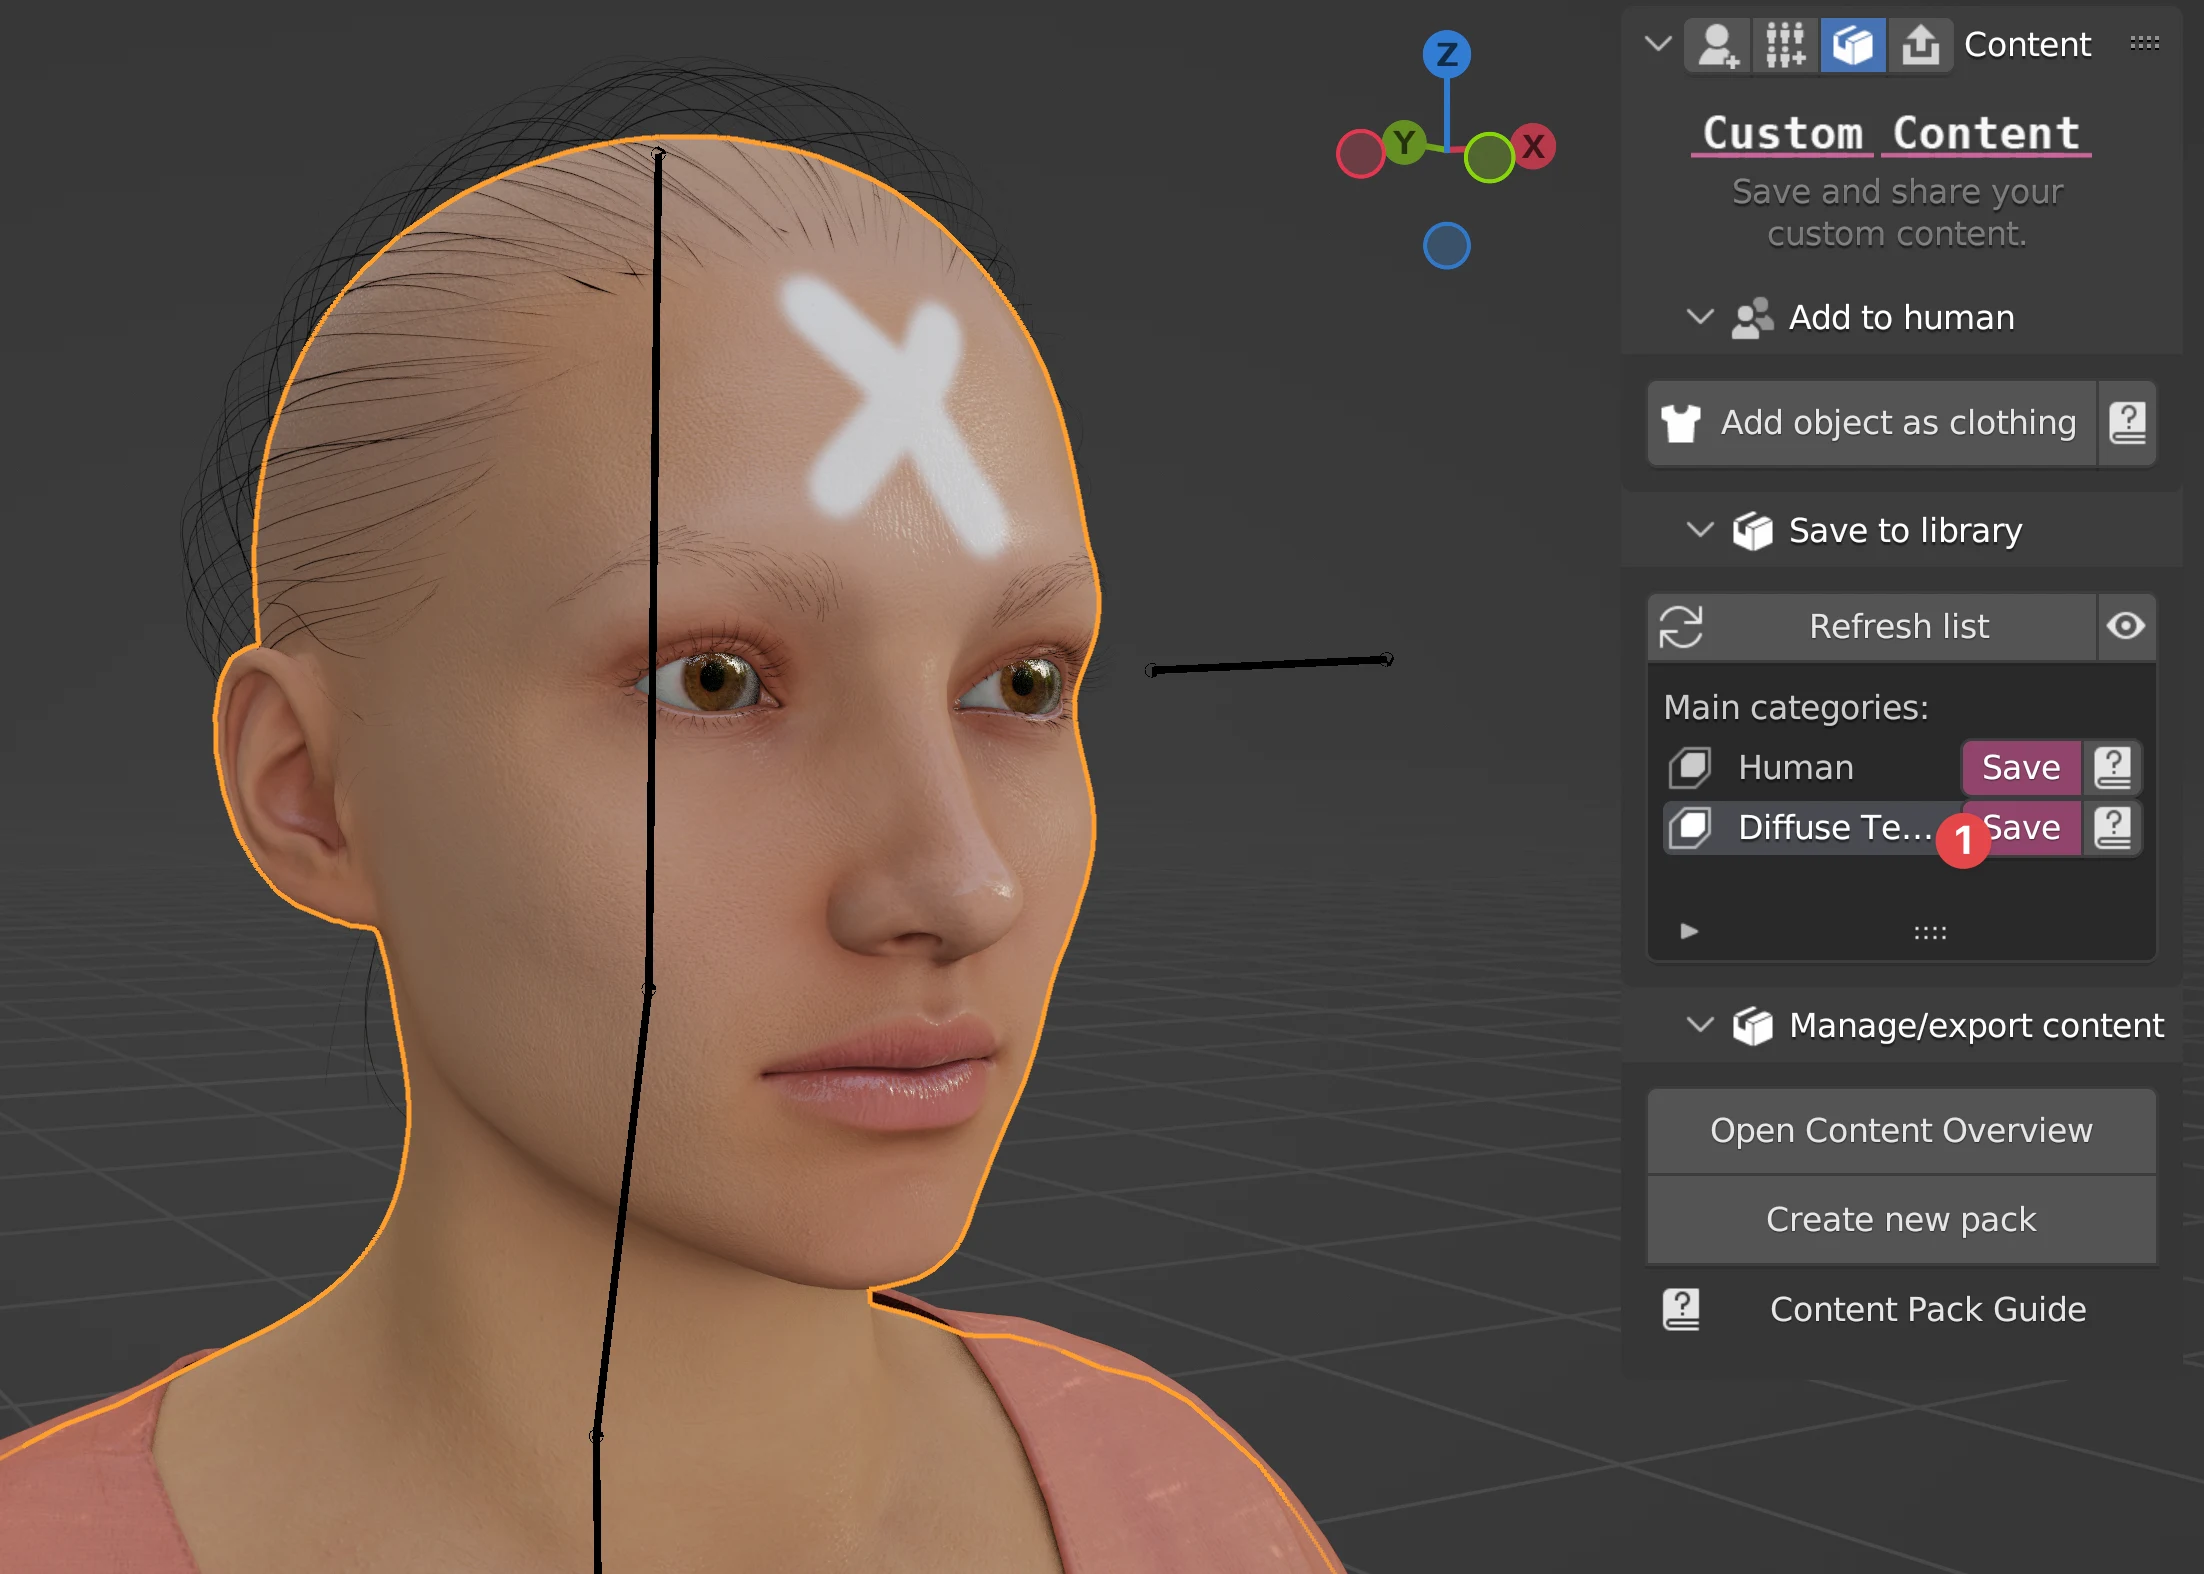
2) Go to the "Custom Content" tab
The switch is located at the top of the Human Generator interface. NOTE: Make sure the human who's texture you want to save is the active object. Press Save for "Diffuse Texture".
3) Thumbnail selection
It's best if your texture has a thumbnail. HG offers multiple ways to add a thumbnail to your item. For an explanation of all methods, see Custom thumbnails.
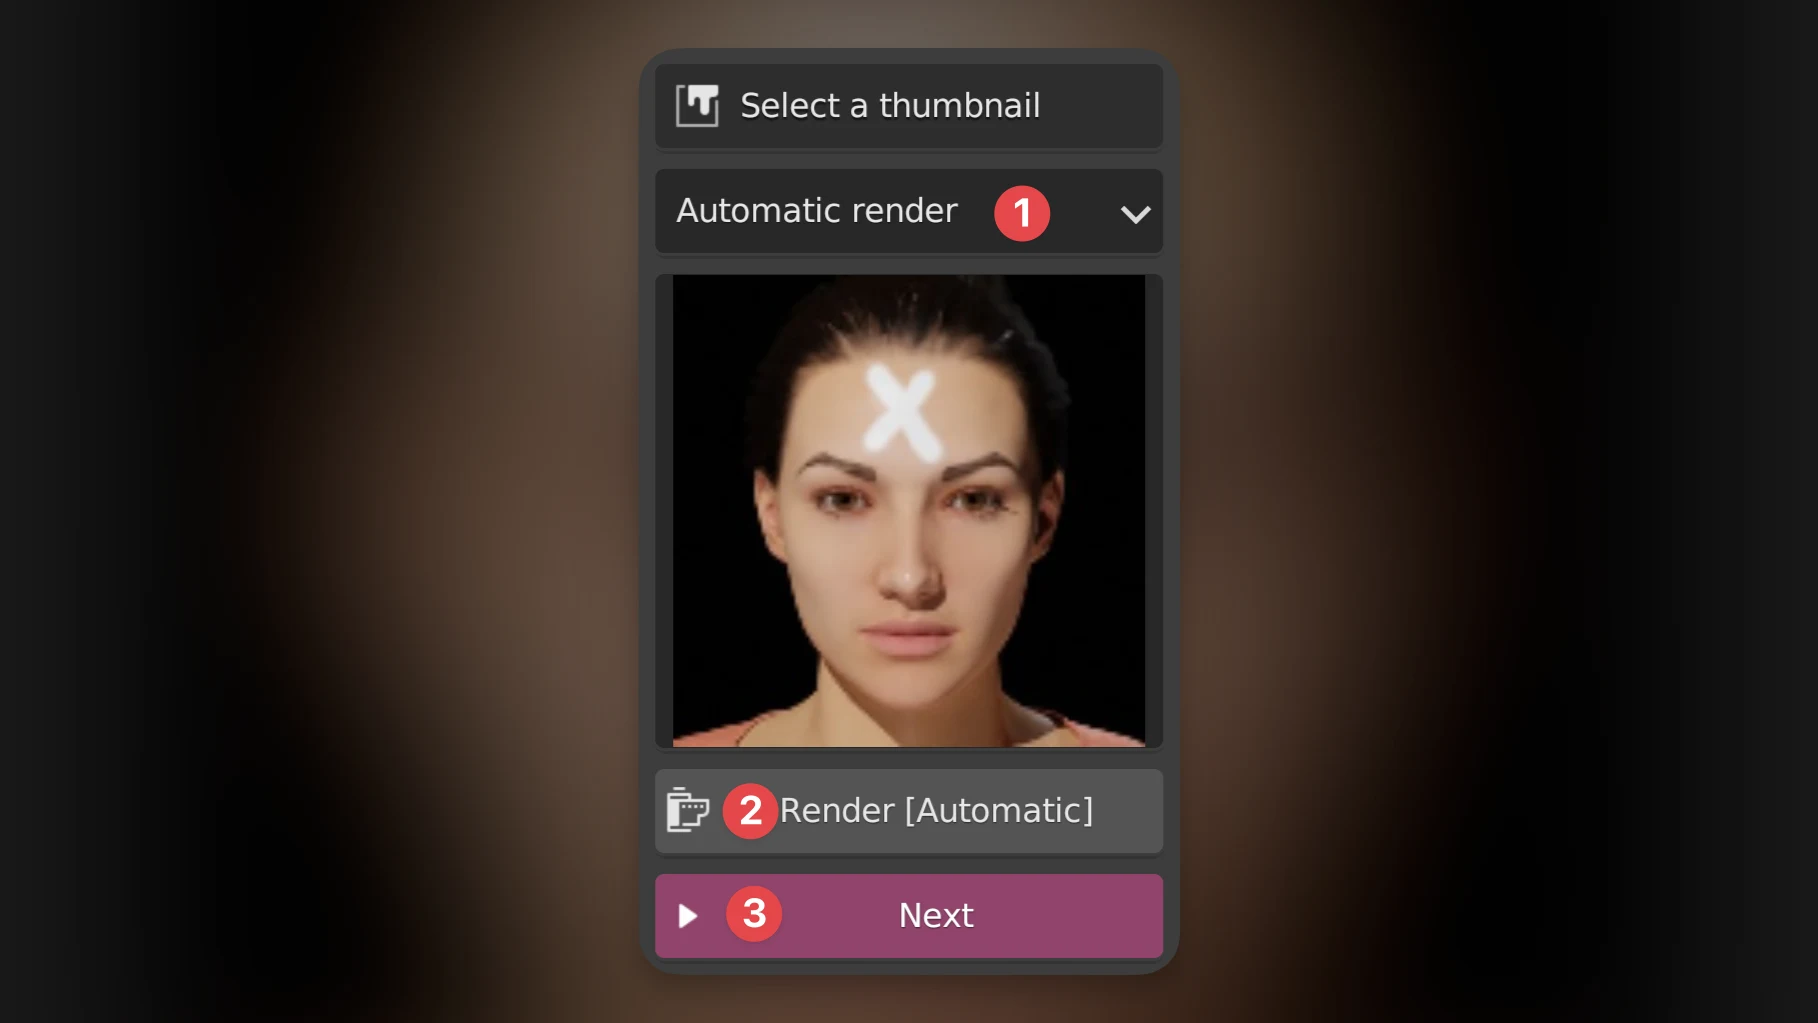
You can change the thumbnail method in the dropdown (1). For now, we will use the quick and easy "Automatic render". Click the button (2) and the created thumbnail will be previewed. Then press next (3).
4) Choose a category
Textures are sorted into categories. Here you'll choose a category to save your texture in.
Since every category will also have a 512px, 1024px, 4K and possible 8K section it's best not to create too many categories. The "Default" category is meant for regular human textures. Other category ideas could be "Tattoo", "Alien", etc.
You can choose an existing category in the "Existing" tab (1) by selecting a category from the dropdown (3). Want a category with a custom name? Go to the "Create new" tab (2) and fill in your own name.
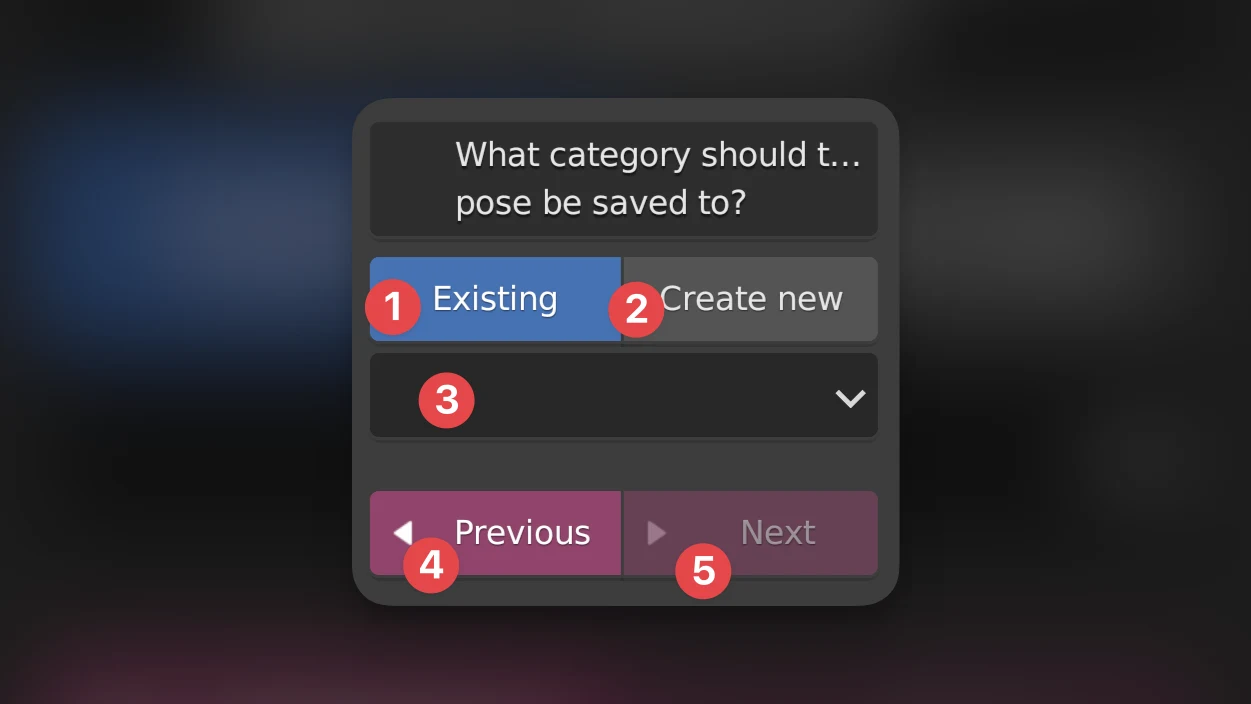 Want to go back to the previous screen? Use the "Previous" button (4). The "Next" button (5) will become available once you've chosen a category.
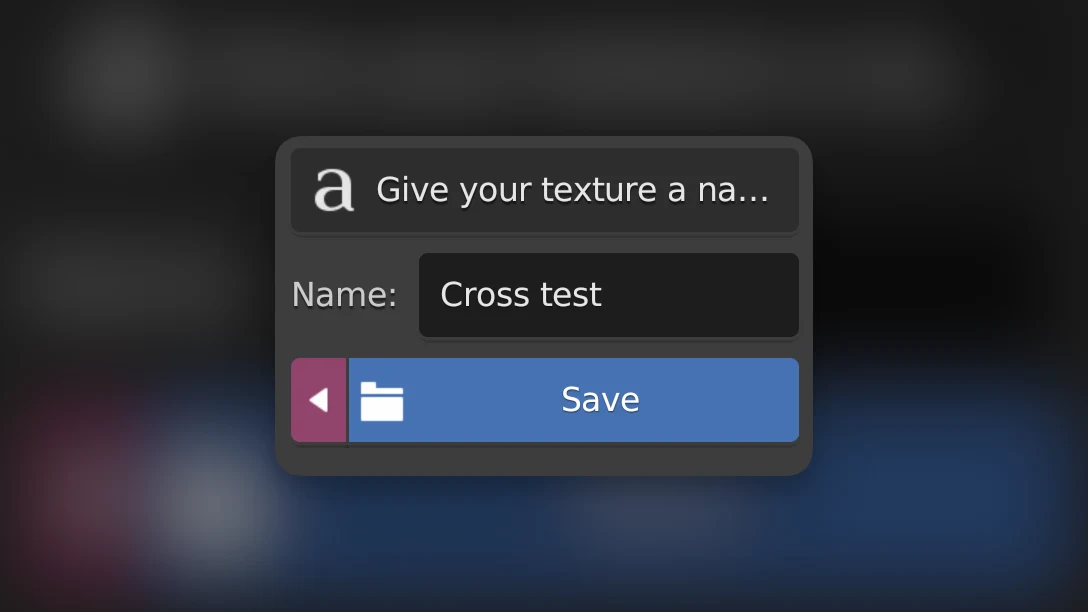
5) Give your texture a name
This name will show up in the menus and will be used as file name. Then press "Save".
6) Your texture is now saved!
You will find it for every human you create with the same gender as the one you saved it for.
Manual saving
Want more control over the textures? For example with custom normals? This is how to manually save textures to the library:
- Textures are saved to
{hg folder}/textures/{gender}/{category {RESOLUTION}}folder - Every category needs to have a category folder ending with
512px,1K, and4K. A folder ending with8Kis optional. - You can save directly in the
Default 512px,Default 1K, andDefault 4Kfolders or create your own folders. - The normal map and combined roughness, specular, and cavity map are saved inside a folder called
PBRinside each of these category folders. - The normal map is like any other normal map, but the roughness, specular, and cavity map have been combined into one texture because of OpenGL limitations on the amount of loadable textures on MacOS. They are separated in r, g, and b channels.
- The normal map should have
normin it's name - The combined map should have
rough_spec_cavityin it's name. - Textures have to be in
pngortiffformat